.png?height=120&name=explori_logo%20(1).png)
Once you are ready to launch your survey, click on "Email" and you will have the option to start creating your email as shown below;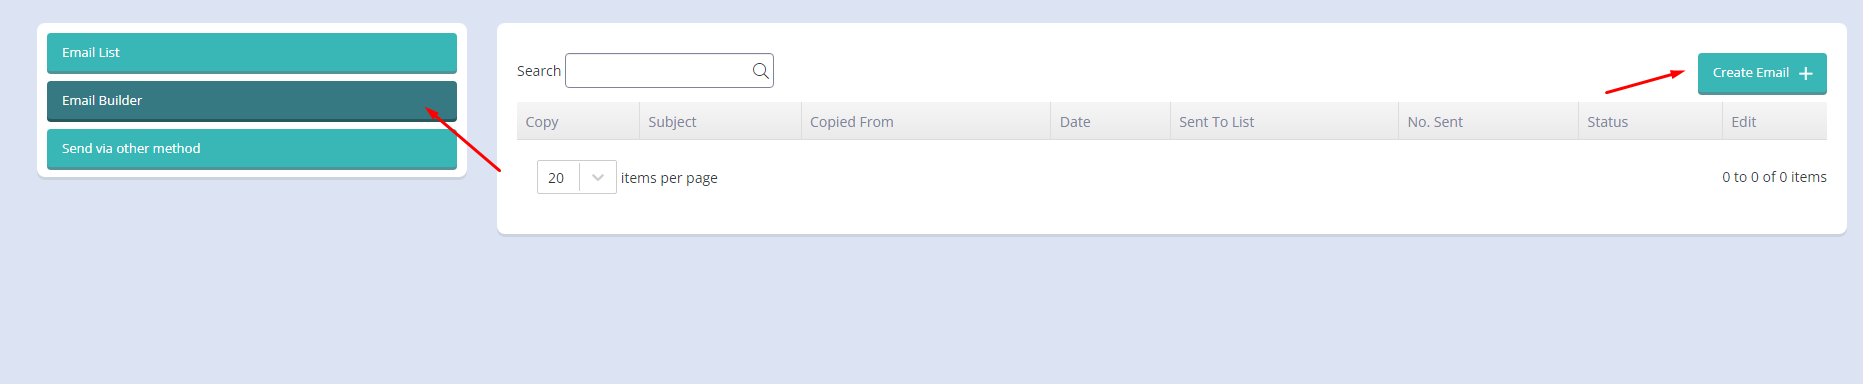
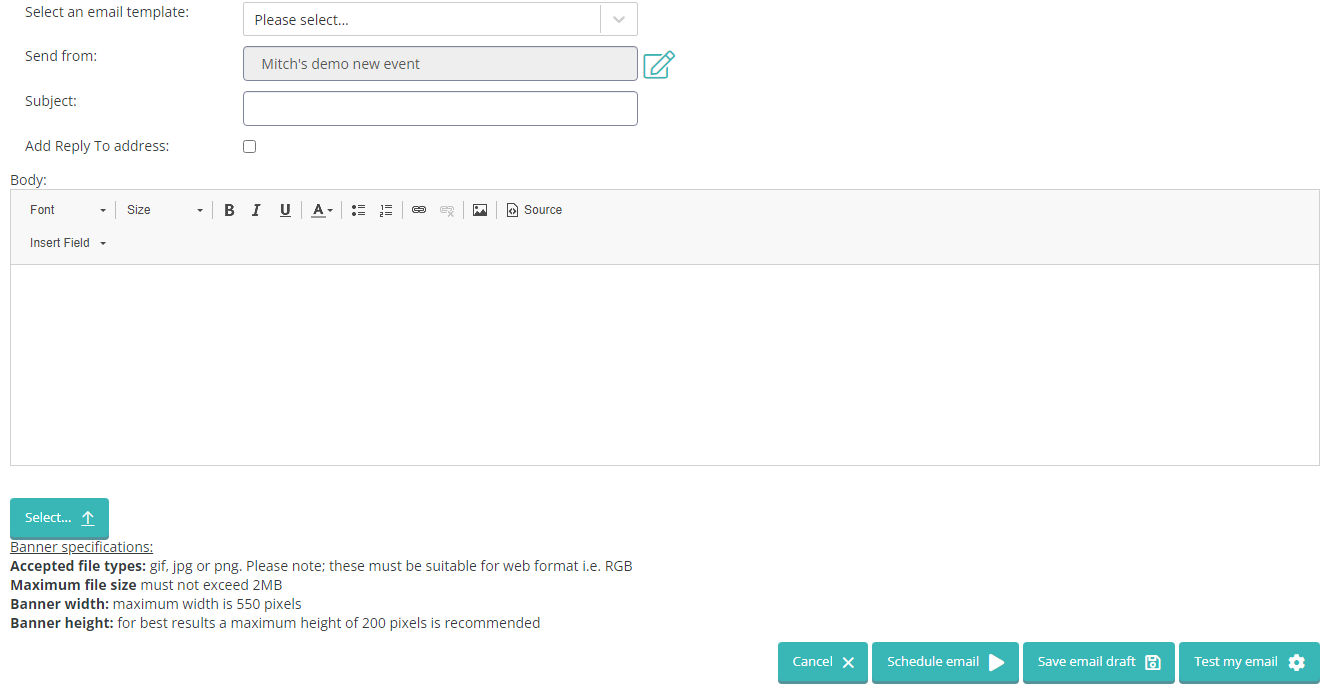
Like with the survey build, there is an option to Select an email template if there is one available to make the building process easier. You may only need to make marginal changes to reflect the survey your sending out but this can save you a lot of valuable time.
If you have HTML that you would like paste in, this can be done by going into the "Source" or you can type in plain text if easier.
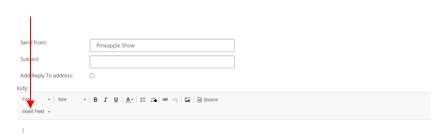
If you are building your email from scratch, you can find the key fields and links automatically by clicking "Insert Field";
To complement the overall styling, you may wish to add a banner and this can be done by clicking the 'Select...' button and choosing an image from your documents. Specifications are provided at the bottom of the page so you can ensure you have the right sizing.
We strongly recommend testing the email to make sure that your happy with the styling of the survey and the links are working as expected. Click "Test my email", input your chosen email address and you will receive the test email to review.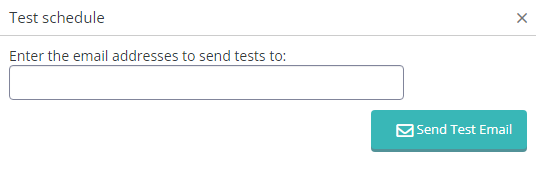
Once reviewed and happy, you can schedule the email invite right away!