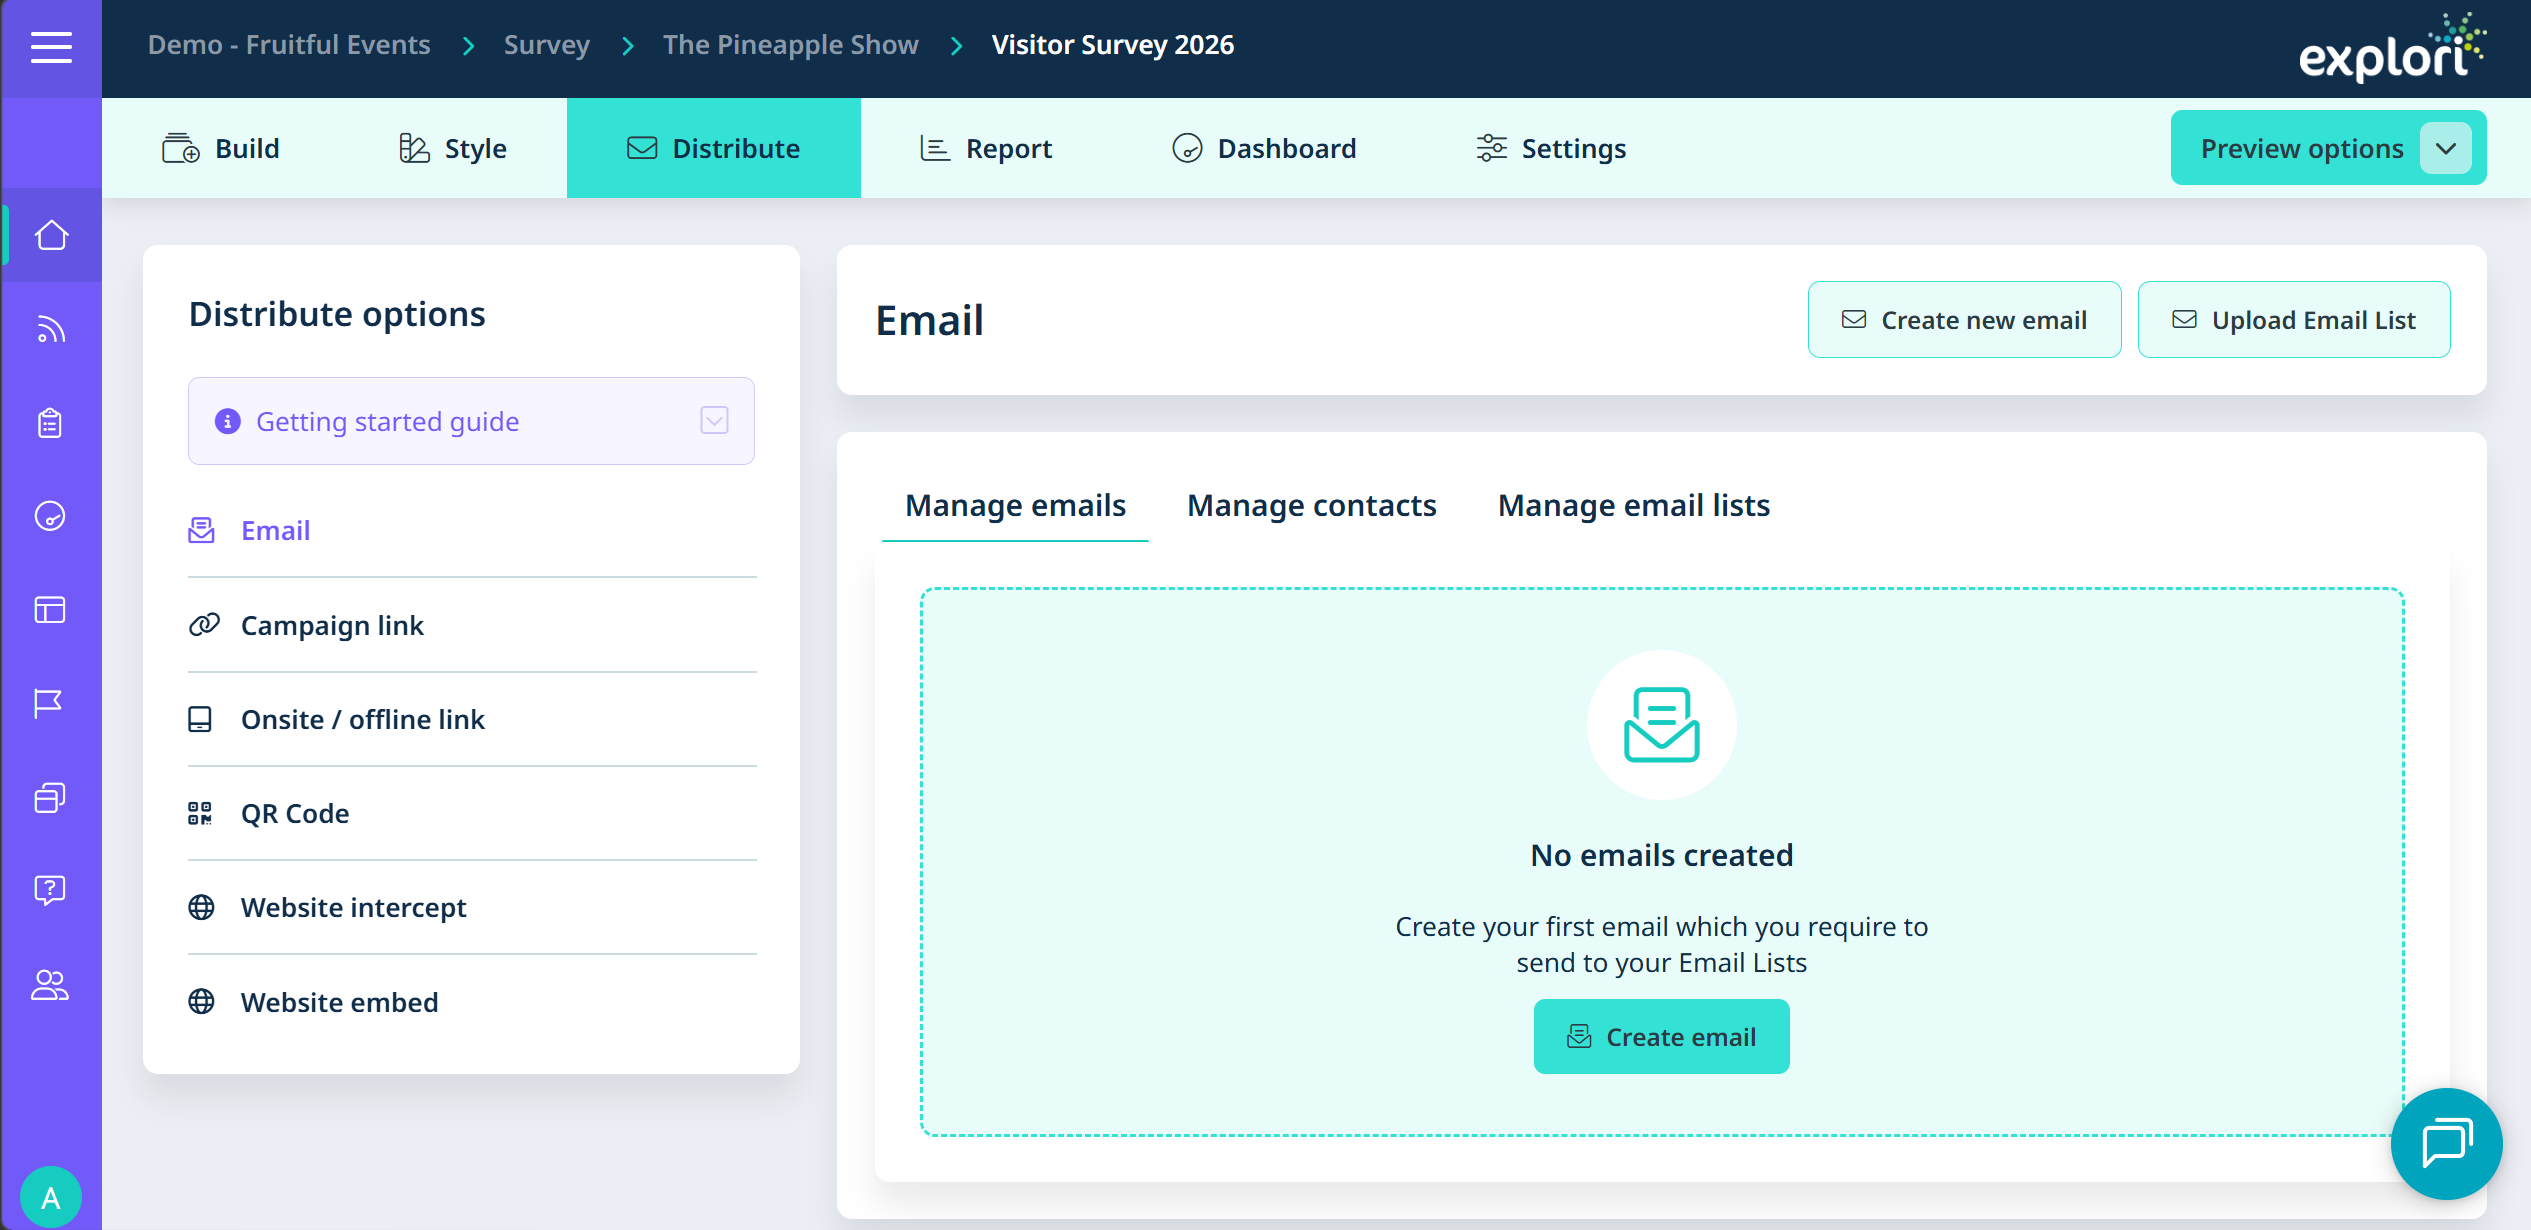
Once you are ready to launch your survey, click on the "Email" option and you will be able to start creating your email.
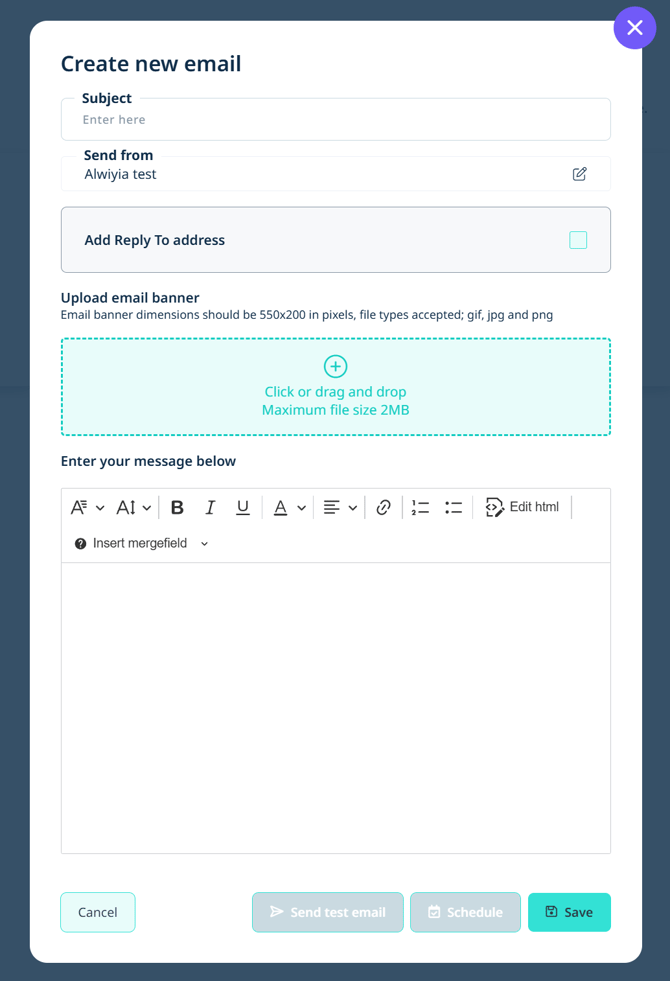
If you have HTML that you would like paste in, this can be done by clicking on "Edit html" or you can type in plain text if easier.
If you are building your email from scratch, you can find the key fields and links automatically by clicking "Insert mergefield".
You must always ensure that the survey link and opt out link are included in the email.
To complement the overall styling, you may wish to add a banner. Specifications are provided so you can ensure you have the right sizing.
Tip: You will need to save your email draft before you are able to upload your email banner
We strongly recommend testing the email to make sure that you're happy with the styling of the survey and the links are working as expected. Click "Send test email", input your chosen email address and you will receive the test email to review.

Once the final checks have been made and you are happy, you can schedule the email invite.
We would always recommend sending a few email reminders 3-5 days after the initial send, within a 10 day span. The general recommendation would be 3 email sends in total.
To send a reminder, click on the 'copy schedule' button.
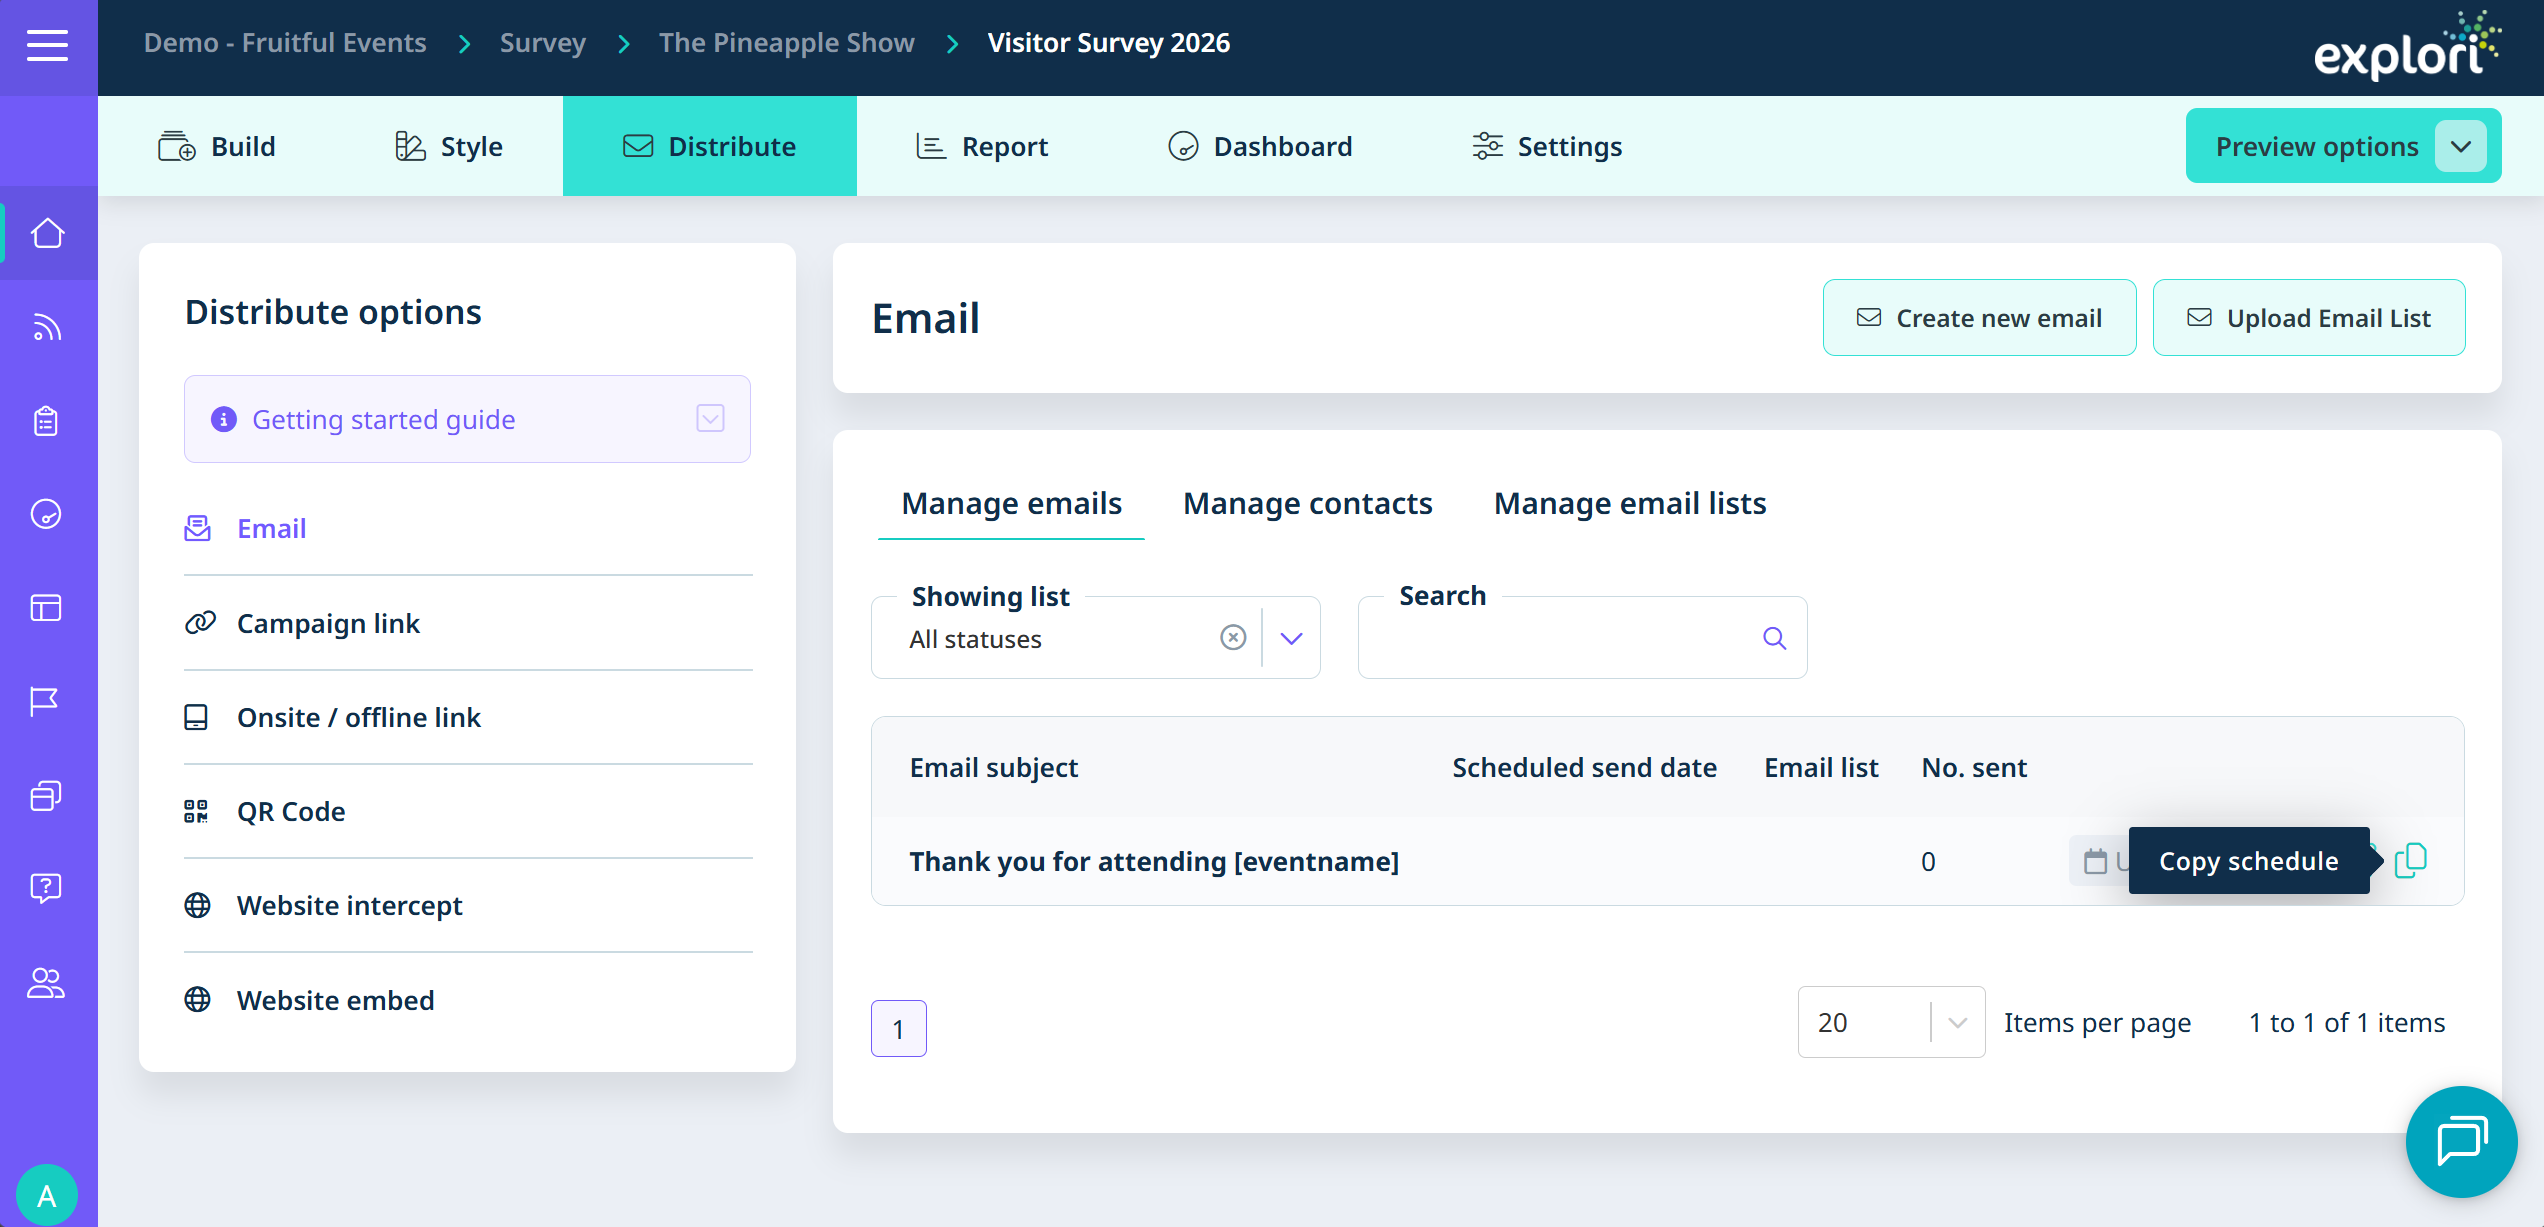
This will copy your email. You can then make any changes to the email, such as adding 'Reminder' to the subject. You may also keep your email exactly the same. You can then schedule your reminder.
Note: When sending reminders, the platform will automatically skip anyone who has already completed the survey and will only be sent to those who have not started/completed the survey.