.png?height=120&name=explori_logo%20(1).png)
Watch Mitch explain how to get onboarded with Maxbi
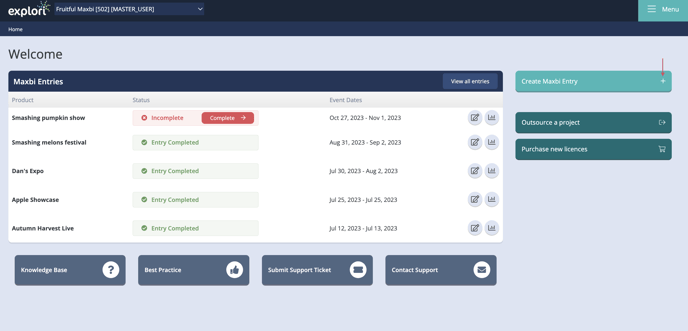
To start measuring the success of your exhibition is easy. Let's walk you through creating a Maxbi entry in 3 steps.
Step 1: Click on the top left "Create Maxbi Entry" button on the Maxbi Home page, and you'll be directed to the Maxbi Entry to start inputting the basic information about the event you exhibited at.
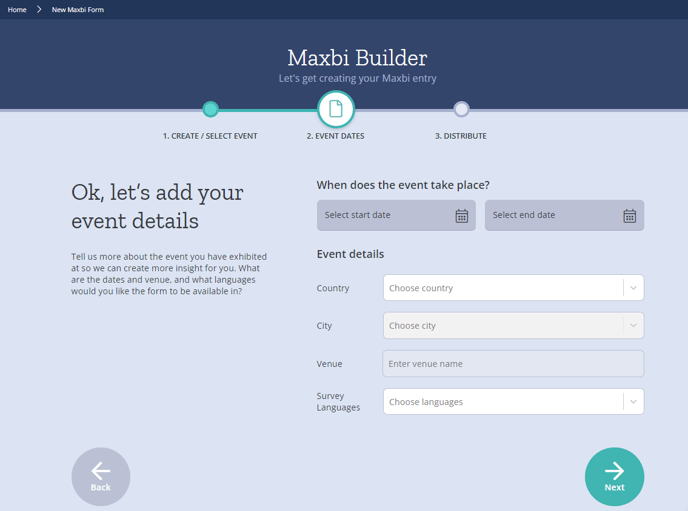
Step 2: Enter the event details you've exhibited at, such as the event name, the dates and where it took place.
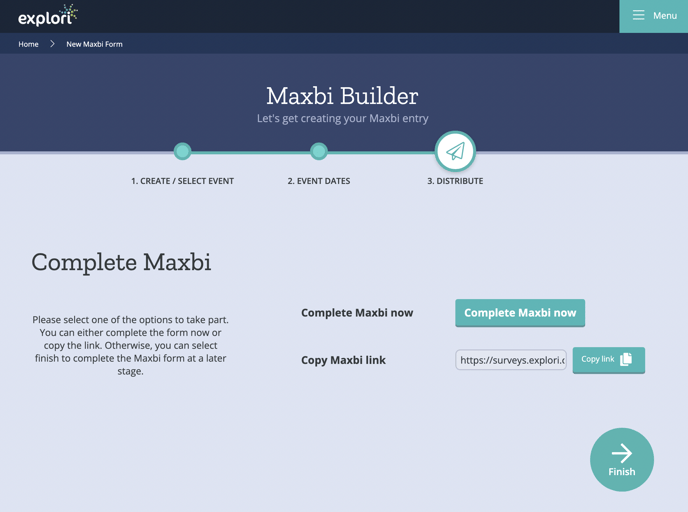
Step 3: Once you have set the event details, you can allocate your exhibition's seven key data points. You can complete the entry right away or copy the entry link and share it with the appropriate team member to allocate the details on your behalf.
We recommend that a single person input all the data with the help of the appropriate team members sharing the validated stats they were in charge of in advance.
Maxbi offers the flexibility to enter your exhibit data at any event stage. You may start populating background information about the event you'd be exhibiting at before the event. You can enter your exhibition objectives and some exhibition costs during the event and add or adjust your data to more accurate stats after the event.